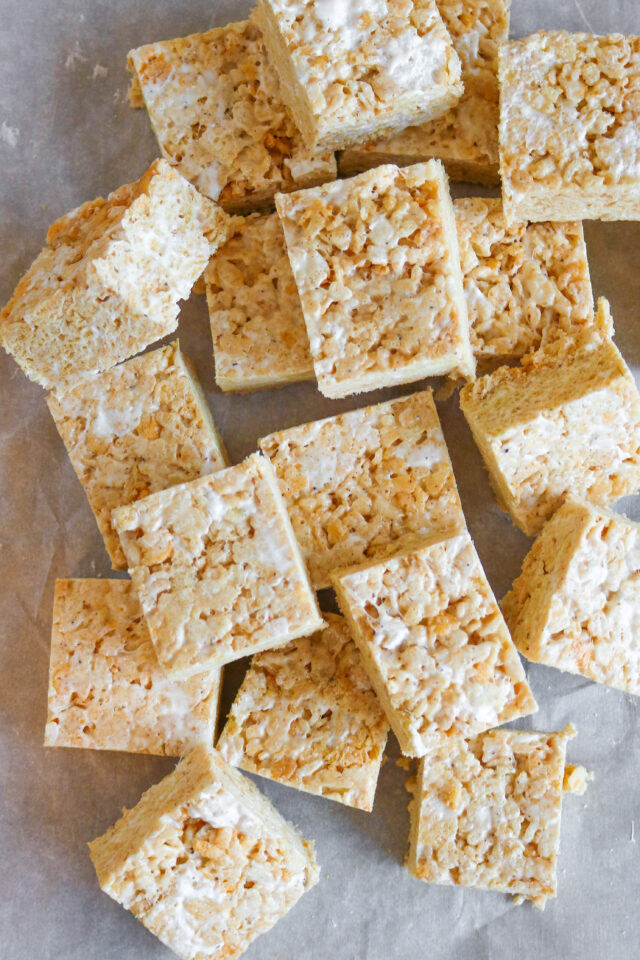
Brown Butter Rice Krispie Treats
Brown Butter Rice Krispie Treats – thick, gooey, perfect & the BEST EVER. The browned butter make them taste 100x better than the classic version.
This is not your grandma’s recipe. It is SO MUCH BETTER.
What makes these brown butter rice krispie treats so delicious:
- Browned butter. Trust me. I don’t know what it is. But the browned butter gives the BEST flavor ever. It takes them from delicious to addicting perfection.
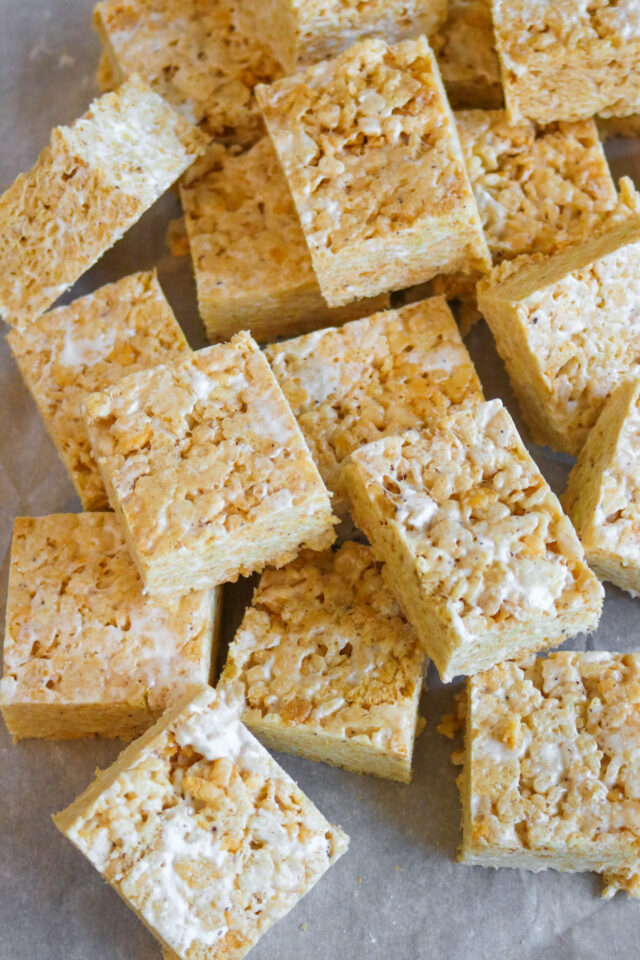
- Extra marshmallows. Homemade version never have enough marshmallows. I love adding extra marshmallows at the end. That way the marshmallows keep their shape and add some extra gooeyness.
- Butterscotch chips. It’s not an overwhelming flavor. But they complement the browned butter so well.
Why are my homemade rice krispie treats super chewy and/or hard?
You overcooked the marshmallows!
Make sure to remove the pan from the heat when you add the marshmallows to the browned butter. Then just let the residual heat melt the marshmallows. The marshmallows don’t have to melt all the way for the rice krispie treats to work!
In fact, I would recommend not melting the marshmallows and butter into a fully melted and combined mixture. Because it’s hard to control overcooking the marshmallows at that point.
Just get the marshmallows fluffy and starting to melt. And add your rice krispie cereal and butterscotch chips. That will keep them soft and chewy.
How far in advance can I make these?
These are a great make ahead treat! If needed, you can make them up to 3 days in advance.
Tip: If you’re making these for a crowd, I cut them into bite size. So they are poppable!
Do they need to be refrigerated?
Nope! They are best when stored at room temperature.
Other easy sweet treat recipes:
Pretzel hugs! These are my fav during Christmas time. But also great all year round!! My coworker brought these to a fall gathering and they were a hit.
And these cookies and cream pretzels!
Watch the recipe video here:
Brown Butter Rice Krispie Treats
Ingredients
- 12 Tablespoons unsalted butter, sliced (1 1/2 sticks)
- 2.5 (10-oz) bags mini marshmallows, DIVIDED
- 1 (12-oz) box rice krispie cereal (about 10 cups)
- 1/2 cup butterscotch chips
- 3/4 teaspoon salt
Instructions
- Add butter to a large non-stick pot and cook over medium heat for 2-3 mins. Stir occasionally, until butter turns golden brown and smells nutty.
- Remove the skillet from the heat and add 2 bags (12 cups) of marshmallows. Stir to start to melt the marshmallows so they get fluffy. The marshmallows shouldn't be fully melted.
- Once the marshmallows are fluffy (but not fully melted), add the cereal, butterscotch chips, and salt to the pot. Stir until cereal is evenly coated.
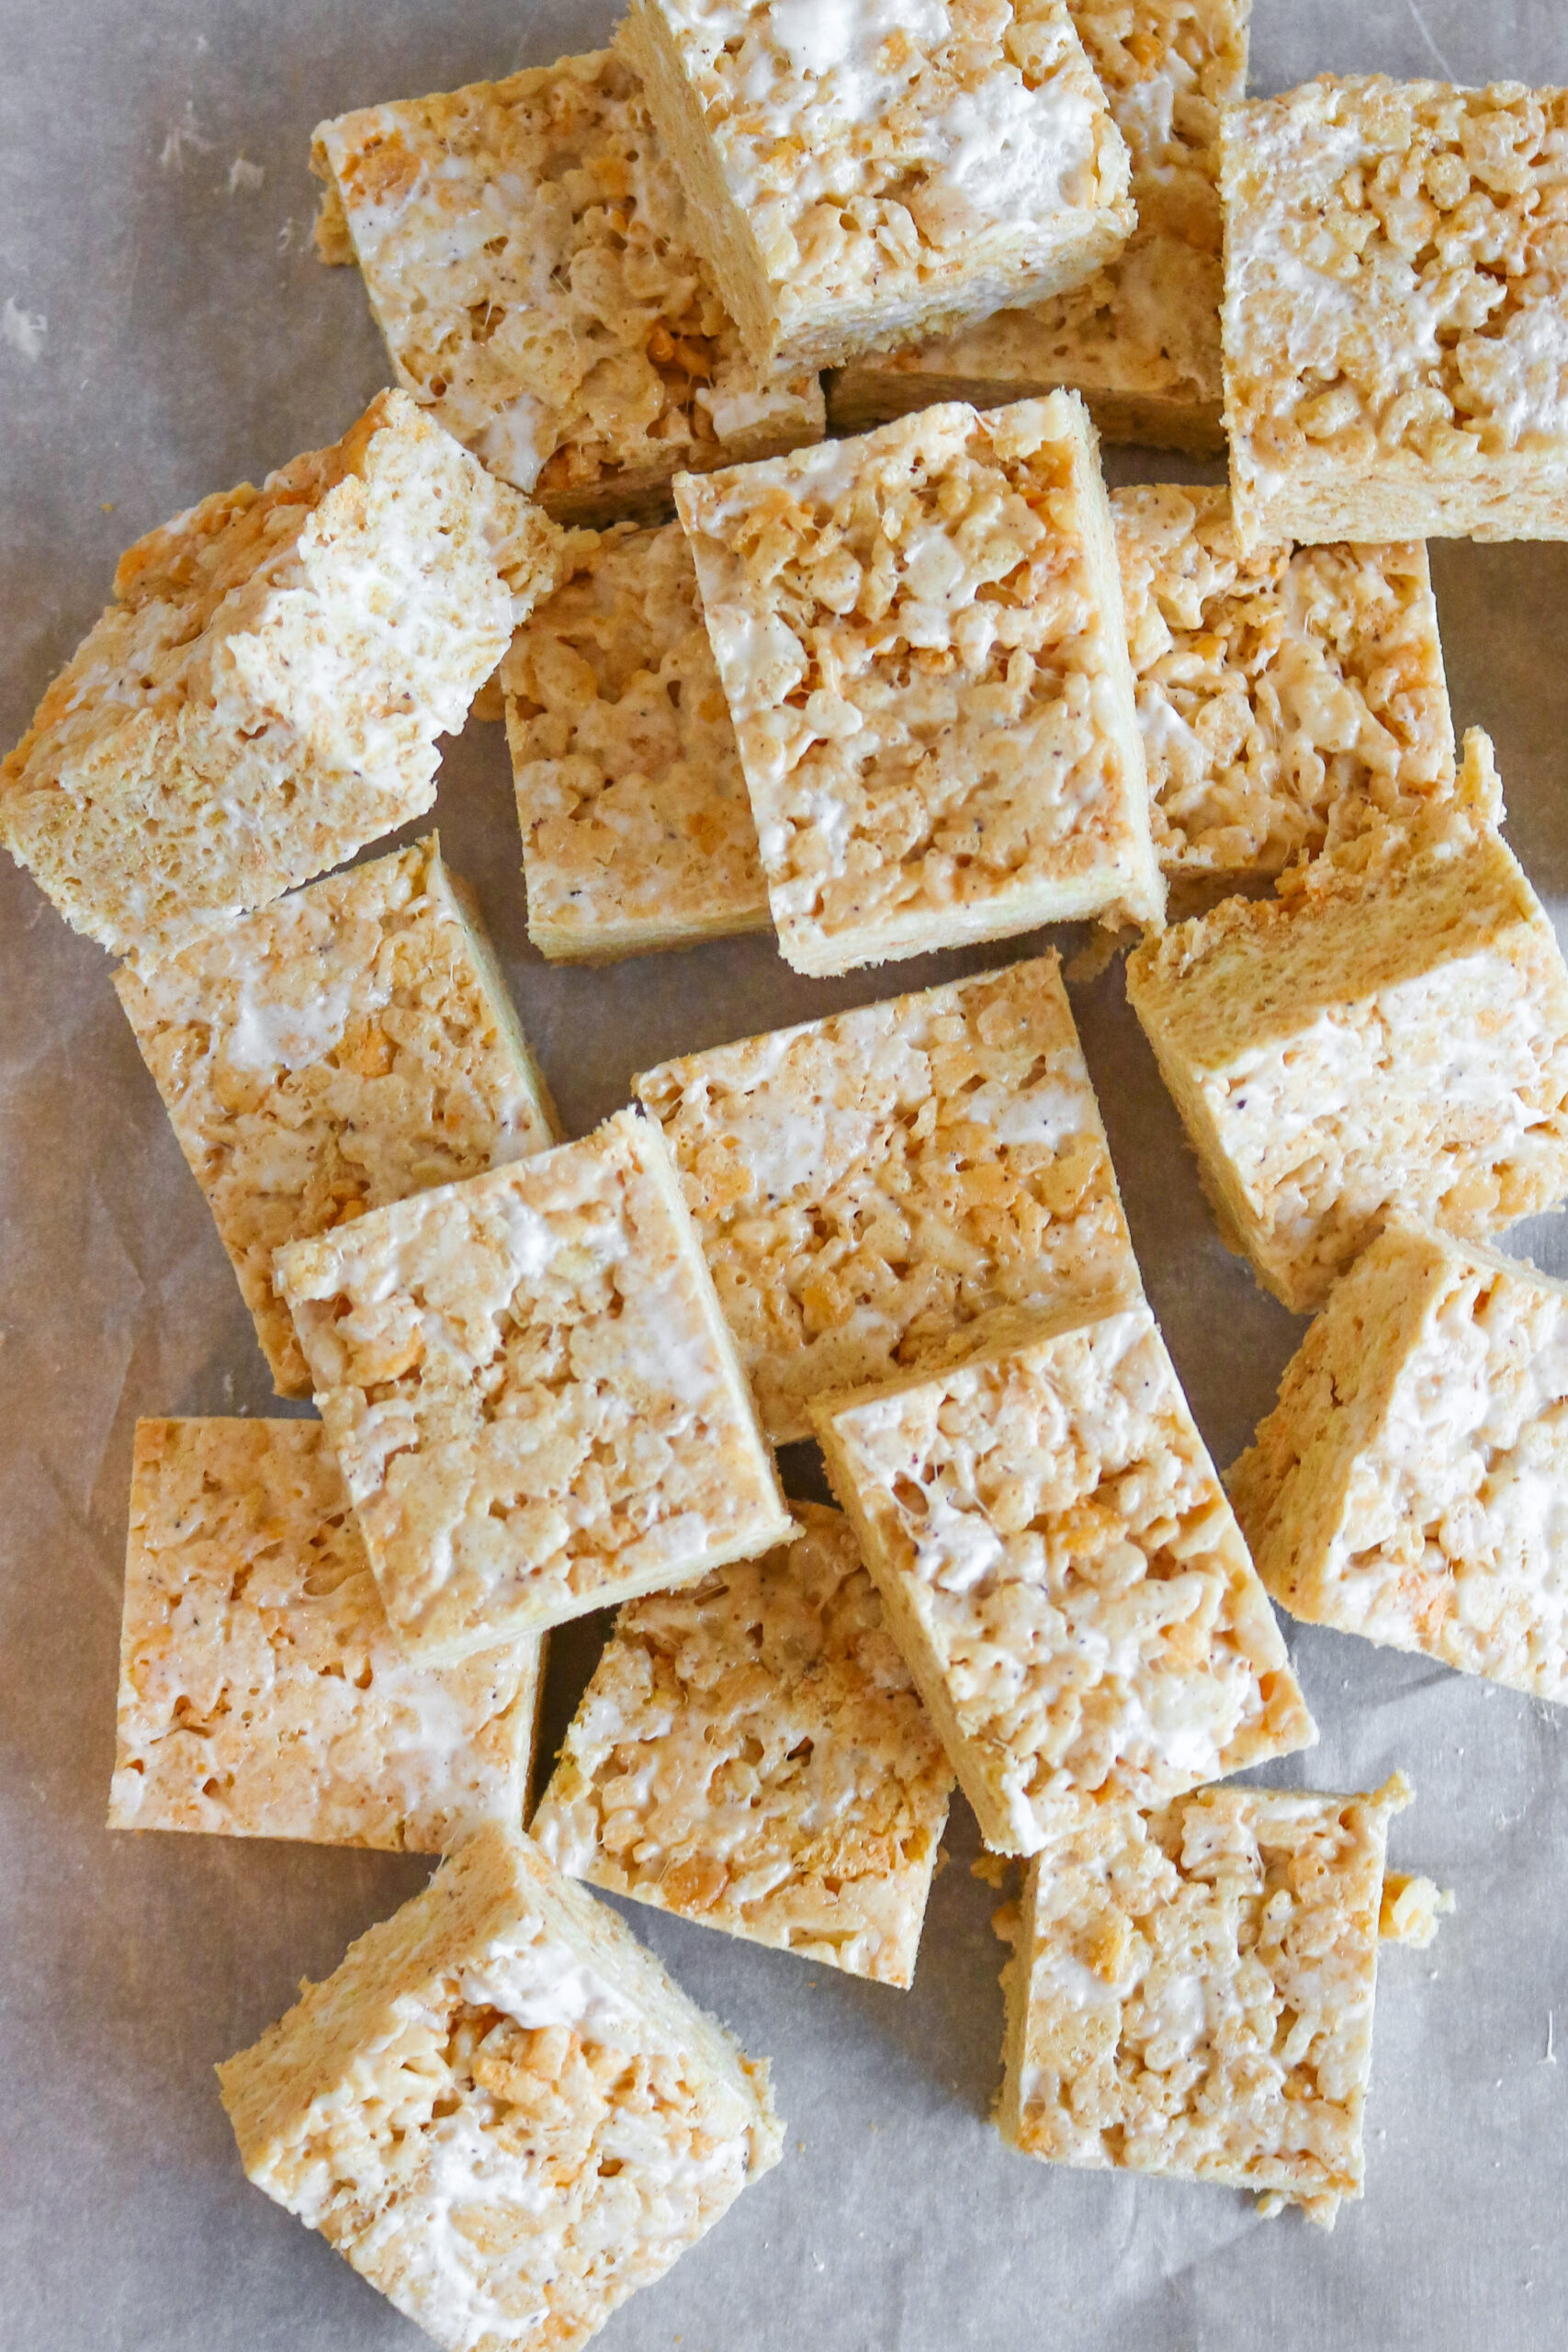
- Fold in the last half bag (3 cups) of marshmallows. Don't let them melt all the way. The marshmallows should still be intact!
- Transfer to a 9×13 inch pan (or divide between 9×13 inch pan and 8×8 inch pan if you want them thinner). Place a piece of parchment paper on top & press hard to make sure the rice krispie treats are even and compact.
- Let cool & cut into bars with a super sharp knife.
Nutrition